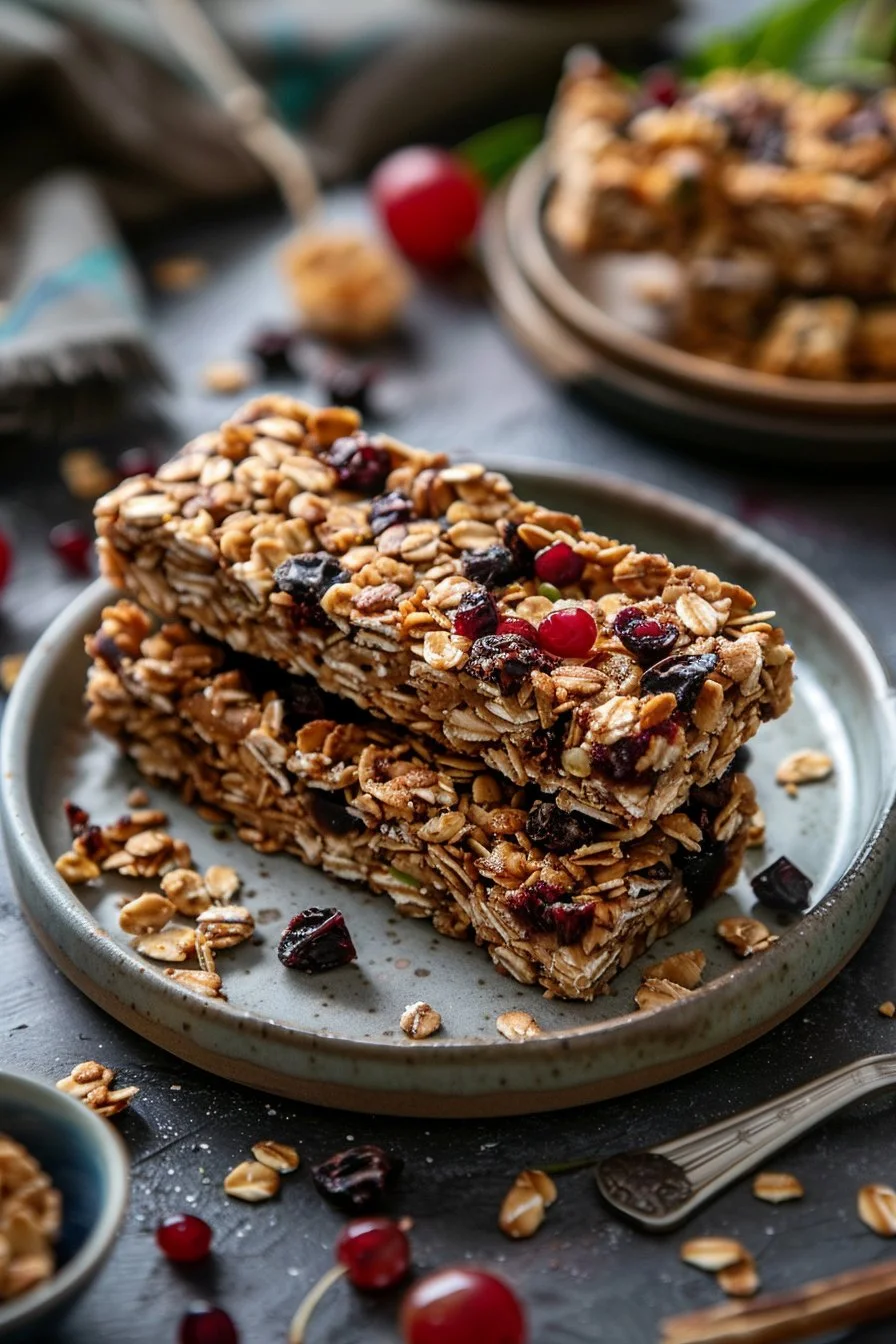
Healthy Granola Bars
Looking for a quick and nutritious snack? Try these Healthy Granola Bars! This easy recipe is perfect for busy home cooks. You only need simple ingredients, and it comes together in no time. With a chewy texture and delicious flavors, they make a great breakfast or snack on-the-go. Plus, you can customize them to suit your taste. Let’s get started!
Emma Hale Story
As a busy mom, I often struggle to find healthy snacks for my family. One day, I decided to whip up some granola bars with pantry staples. The result was amazing! My kids loved them, and I felt good knowing they were packed with nutrients. Ever since then, this Healthy Granola Bar recipe has become a family favorite. It’s a simple, wholesome way to keep everyone satisfied and energized throughout the day.
Why You’ll Love This Recipe
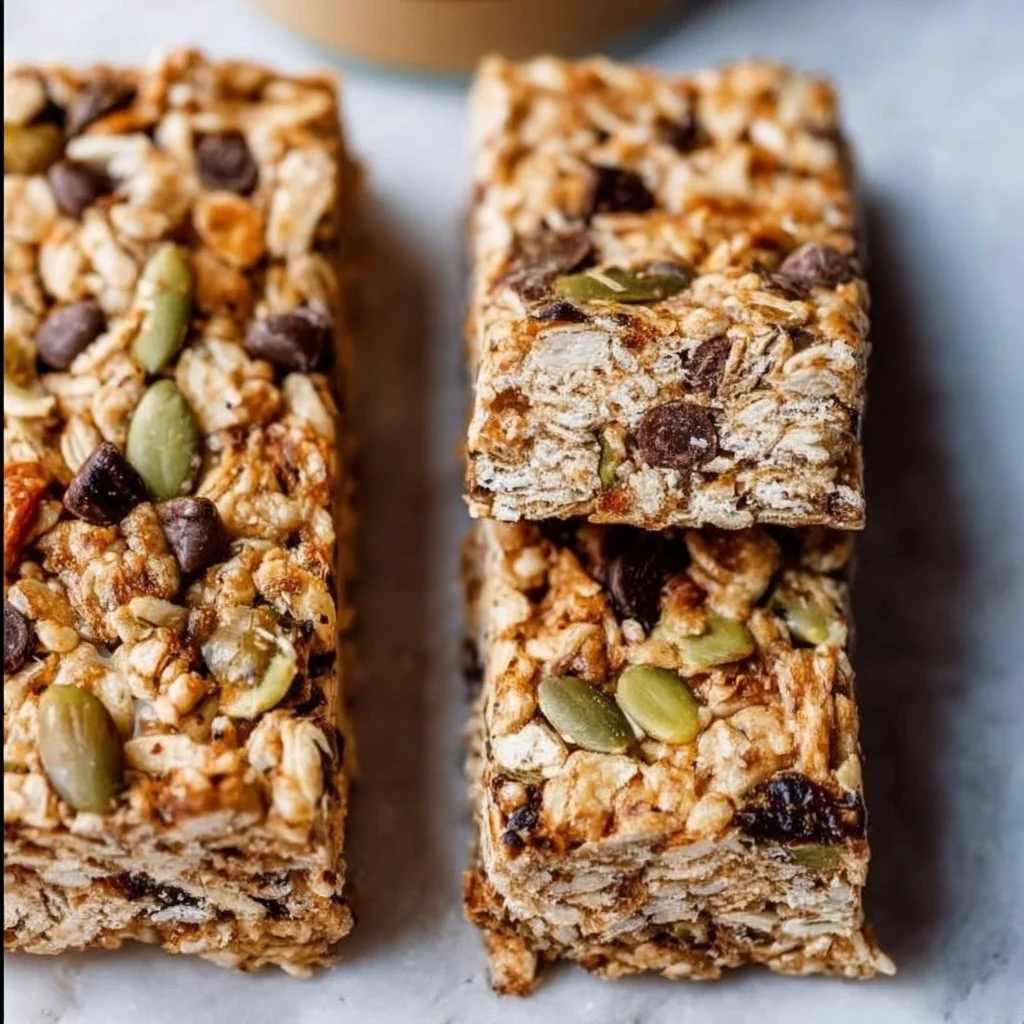
These Healthy Granola Bars check all the boxes for a perfect snack. First, they are full of wholesome ingredients, making them a nutritious choice for everyone. With rolled oats, nuts, and dried fruits, they provide energy and fiber without added preservatives. They’re also incredibly customizable. Want to switch up the nuts or dried fruits? Go for it! You can make them your own.
Saving this recipe on Pinterest ensures you always have a go-to snack on hand. Whether you need a quick breakfast or a post-workout boost, these granola bars are the solution. Plus, they are easy to make and versatile – what’s not to love?
Ingredients
- 2 cups rolled oats – Choose certified gluten-free oats if needed.
- 1 cup nuts (almonds, walnuts, or peanuts) – Chop them for easier mixing.
- 1/2 cup honey or maple syrup – Use your favorite sweetener.
- 1/2 cup nut butter (peanut or almond) – Ensure it’s smooth for easy mixing.
- 1/2 cup dried fruits (raisins, cranberries, or apricots) – Choose unsweetened for fewer sugars.
- 1 teaspoon vanilla extract – Adds a lovely flavor.
- 1/2 teaspoon salt – Enhances all the flavors.
How to Make Healthy Granola Bars
- Preheat the oven and line a baking dish with parchment paper.
- Mix rolled oats, nuts, and dried fruits in a large bowl.
- Heat honey and nut butter until melted, then stir in vanilla and salt.
- Pour the mixture over the dry ingredients and mix well.
- Press the mixture into the prepared baking dish.
- Bake until the edges are golden.
- Cool completely before slicing into bars.
How to Serve
These Healthy Granola Bars are delicious on their own, but you can elevate your snack time too! Pair them with a dollop of Greek yogurt for added creaminess. A handful of fresh fruit like berries or sliced bananas makes for a refreshing side. To make them even more filling, serve alongside a cup of herbal tea or a smoothie. These combinations provide a balanced snack that keeps you satisfied until your next meal.
How to Perfect This Recipe
For the best results, ensure that you press the granola mixture firmly into the baking dish. This helps the bars hold their shape when cut. If you prefer chewier bars, shorten the baking time slightly. For extra flavor, try adding a pinch of cinnamon or using flavored nut butter. Experiment with different nuts and fruit combinations to find what you love best. Remember, the key is to make them your own!
Common Mistakes
- Not pressing down firmly: Bars may crumble.
- Overcooking: They can become too hard. Bake until just golden.
- Using too much sweetener: Adjust to your taste. Less can sometimes be more!
Storage and Reheating
Store your Healthy Granola Bars in an airtight container. They will last up to a week at room temperature, keeping them chewy and delicious. For longer storage, wrap them individually and freeze. They’ll stay fresh for up to three months. To enjoy, just take a bar out of the freezer and let it thaw for a few minutes. This way, you can enjoy them any time you want!
Frequently Asked Questions
Q: Can I substitute the nut butter?
Yes! You can use any nut or seed butter you prefer. Just ensure it’s smooth for the best texture.
Q: Are these bars gluten-free?
If you use certified gluten-free oats and other gluten-free ingredients, yes, they can be gluten-free!
Q: Can I add chocolate chips?
Absolutely! Chocolate chips make a great addition, just mix them in with the dry ingredients.
Q: How do I cut the bars cleanly?
Make sure to cool the bars completely before cutting. A sharp knife or pizza cutter works best!
Conclusion
Give these Healthy Granola Bars a try! They are an easy, nutritious snack that everyone will love. With endless customization options, you can make them just how you like. Enjoy making, sharing, and snacking on these yummy bars!
Healthy Granola Bars
Ingredients
Method
- Preheat the oven and line a baking dish with parchment paper.
- Mix rolled oats, nuts, and dried fruits in a large bowl.
- Heat honey and nut butter until melted, then stir in vanilla and salt.
- Pour the mixture over the dry ingredients and mix well.
- Press the mixture into the prepared baking dish.
- Bake until the edges are golden.
- Cool completely before slicing into bars.